Setup
To use the Data Stream service the following is necessary, enable the Data Stream service on the account used by integrator, provide a webhook URL, and provide an access token (optional). To enable the service, log in to our Portal as a user with the following privileges:
View Company
Site-level services lists
Add, remove, and configure services for site and company levels
The following configurations are required to use Data Stream:
Subscription Configuration
To set up a Data Stream subscription configuration, review the Infrastructure, Tokens, IP Whitelisting, and Target SQS Configuration sections for requirements.
Infrastructure
The Data Stream service is a highly available HTTP/HTTPS web service with an accessible API resource that accepts POST requests. Scaling policies will depend on the company's transactional throughput.
Tokens
DSS supports an optional authorization layer, whereby the user may opt to configure a token string.
If the user chooses to leverage a token, any string value is acceptable, but we prefer that clients use a JSON Web Token (JWT).
It should also be noted that the service does not support an Authentication step, nor is there a process to refresh the token periodically. Maintenance and administration of this token string should be scheduled in advance in cooperation with our services.
When populated, the request from the webhook service has an AUTHORIZATION header with a value corresponding with your configured string. If your API does not require specific authorization, then the AUTHORIZATION header is still present but with a value of null.
Authorization: Bearer eyJhbGciOiJIUzI1NiIsInR5cCI6IkpXVCIsImtpZCI6InhwcnQifQ. eyJpbnRlZ3JhdG
IP Whitelisting
Requests are instantiated from the IP addresses listed in the table below. Consider this during the API’s security policies configuration.
Stack | IPs |
|---|---|
UAT | 3.217.218.83 3.208.80.135 3.222.71.31 52.37.255.150 34.213.235.102 44.231.76.187 |
PROD | 34.237.185.136 34.236.70.131 52.35.60.35 44.240.76.42 44.237.115.227 52.206.44.132 3.220.26.50 52.86.120.52 52.3.178.150 52.26.27.53 44.231.220.174 52.89.173.171 54.203.194.137 54.243.160.146 3.220.86.177 18.205.80.63 3.228.191.218 3.224.118.141 3.214.48.75 35.171.36.145 |
Target SQS Configuration
Simple Queue Service (SQS) should have a configured policy to allow our webhook service to publish messages. An example policy is shown below:
{
  "Version": "2008-10-17",
  "Id": "__default_policy_ID",
  "Statement": [
    {
      "Sid": "__owner_statement",
      "Effect": "Allow",
      "Principal": {
        "AWS": ["X1924XX12871"]
      },
      "Action": "SQS:SendMessage",
      "Resource": "arn:aws:sqs:<AWS_REGION>:<AWS_ACCOUNT_ID>:<SQS_QUEUE_NAME>"
    },
    {
      "Sid": "__receiver_statement",
      "Effect": "Allow",
      "Principal": {
        "AWS": ["arn:aws:iam::<AWS_ACCOUNT_ID>:role/<IAM_ROLE_NAME>"]
      },
      "Action": [
        "SQS:ReceiveMessage",
        "SQS:DeleteMessage"
      ],
      "Resource": "arn:aws:sqs:<AWS_REGION>:<AWS_ACCOUNT_ID>:<SQS_QUEUE_NAME>"
    }
  ]
}
Create an IAM user with the "arn:aws:iam::<AWS_ACCOUNT_ID>:role/<IAM_ROLE_NAME>" and provide credentials to the user who will read the SQS.
Endpoint Configuration
To use the Data Stream service for your data flow, complete the following endpoint configuration steps:
Configure your target address using recommendations described in Subscription Configuration.
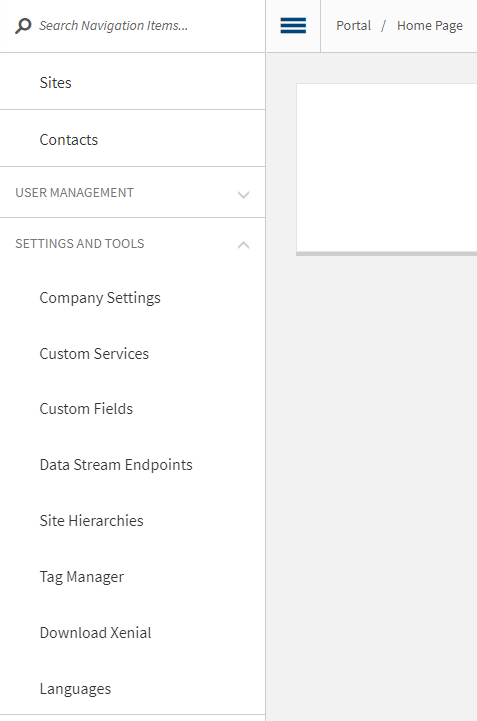
In the Portal, find your target company and open its starting page.
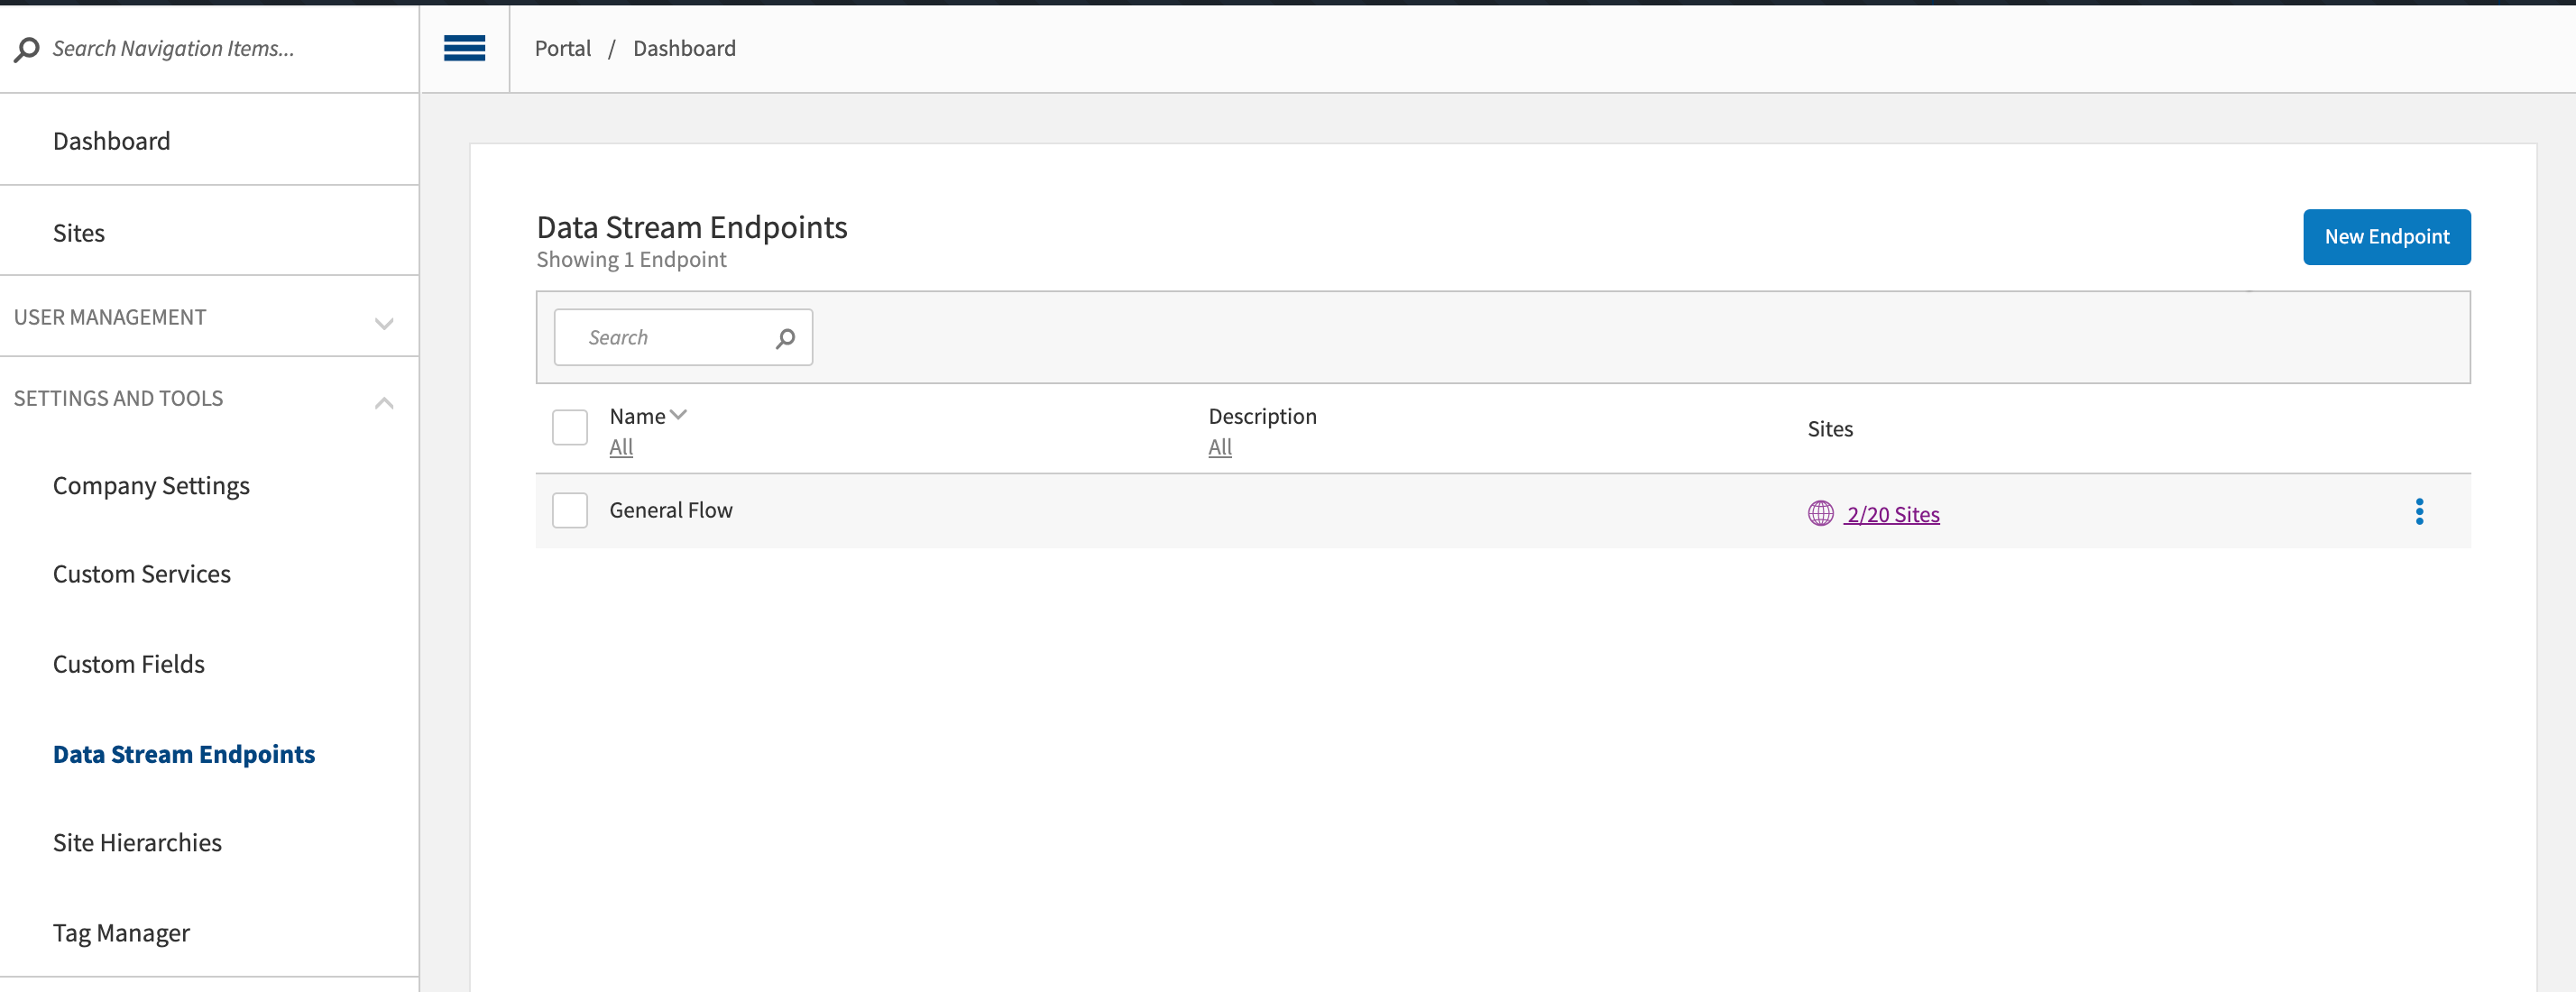
Expand SETTINGS AND TOOLS in the left navigation panel and select Data Stream Endpoints.
From the new display, click New Endpoint.
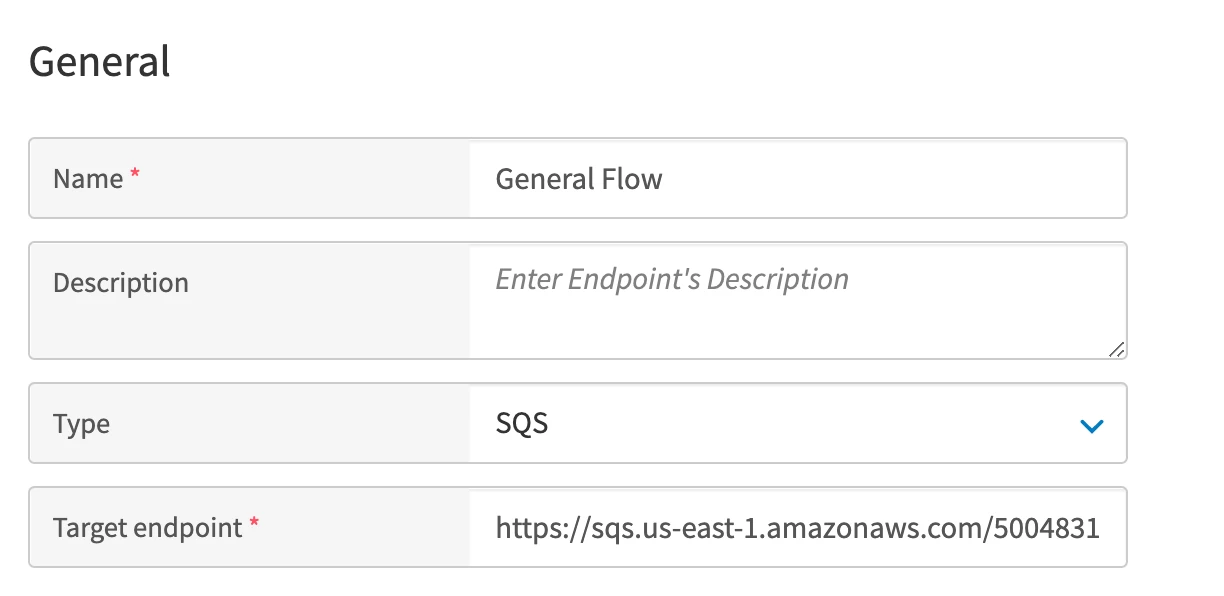
From the General window, enter or select the following required information:
Name - Enter the endpoint's readable name so you can differentiate between records in the general list and find the appropriate one faster.
Type - Used to identify a type of target address where the data should be sent. This influences the result transport type and authorization method. The available values are: HTTP and SQS.
Target endpoint - This is your target address. Verify that the entered value does not contain spaces. For the SQS type, enter the URL address of your target SQS.
From the General window, enter the following optional information, if applicable:
Description - Used for additional notes that could help to receive general overview about configured endpoint.
Access Token - If your target address requires authorization, put the necessary token here. For the Bearer Token authorization type, enter Bearer with the token. If the target address is enabled for several sites, you can set up different authorization tokens for each site. For this, click Globe and set your tokens in the Value column.
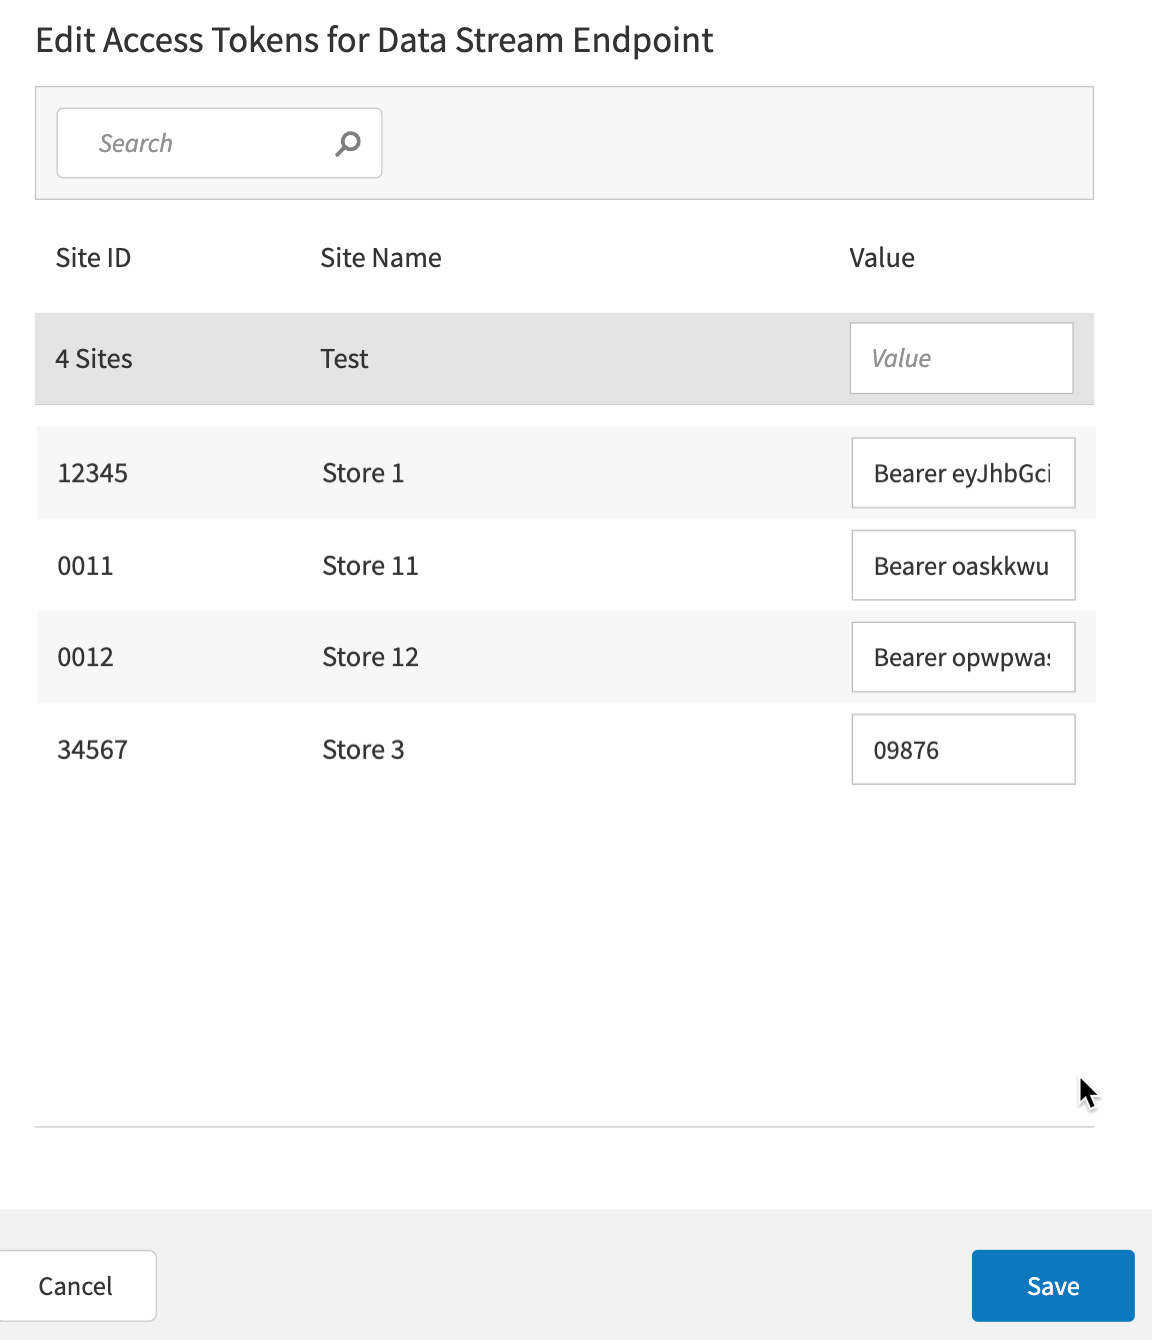
If all sites should have one site token for this address, set this token in the Access Token field - it will be applied to all sites after you save the endpoint.
Note
This field is displayed for the HTTP type only.
Validate Connection - When you click Validate Connection, a POST request with the following body is sent to the target address using the "Access Token" value for authorization:
{ "entityName": "ConnectionValidation", "data": { "message": "This message was sent to validate the endpoint configuration." } }
The validation request is sent automatically during the endpoint’s saving process.
Note
This button is displayed for the HTTP type only.
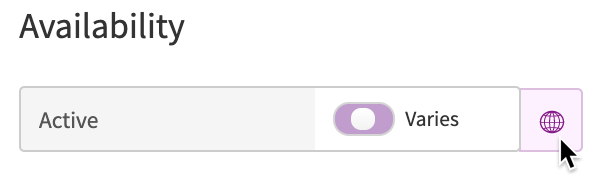
For Availability, move the toggle to Yes to enable this target endpoint for a single site. You can also use the globe icon to configure a list of target sites. Data will flow to this configured endpoint for these enabled sites only.
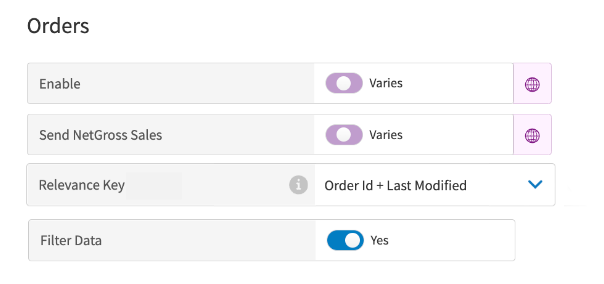
For Orders, add the following information and settings:
Enable - Move this toggle to Yes to enable the flow of orders to this target endpoint for a single site. You can also use the globe icon to configure a list of target sites.
Note
Orders will be sent only for the sites that are enabled in the Availability tab.
Send Net/Gross Sales - Enable this toggle if you want to receive calculated net and gross sales values per order in the result payload of the order messages sent to this target address. You can also use the globe icon to configure a list of target sites.
Note
Net/Gross Sales will be sent inside orders only for the sites that are also enabled in the Availability tab.
Relevance Key - Using the selected combination of order fields, outdated versions of an order can be identified and suppressed from delivery to the target address. The default value is
"relevance_key": "_id,time.last_modified".Filter Data - Enable this toggle if you want to configure a list a order states and types which should be sent to this target address.
Note
When this toggle is disabled, orders in all states and types are sent to the target address.
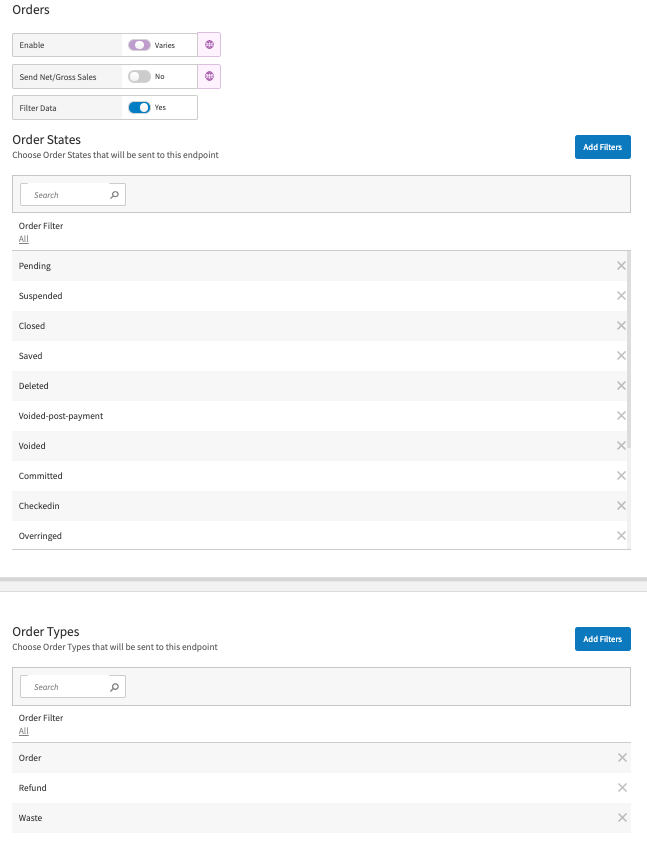
Order States - The field is displayed only when the Filter Data toggle is set to Yes. Click Add Filters to open a modal window to configure a list of order states.
Note
When configured, only orders in these states are sent to the target address. All other orders are ignored.
Order Types - The field is displayed only when the Filter Data toggle is set to Yes. Click Add Filters to open a modal window to configure a list of order types.
Note
When configured, only orders with these types are sent to the target address. All other orders are ignored.
For Drawers, add the following information and settings:
Enable - Move this toggle to Yes to enable the flow of drawer events to this target endpoint for a single site. You can also use the globe icon to configure a list of target sites.
Note
Drawer events will be sent only for the sites that are enabled in the Availability tab.
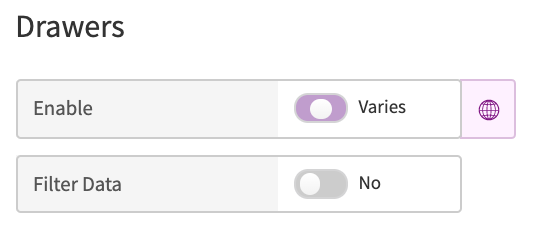
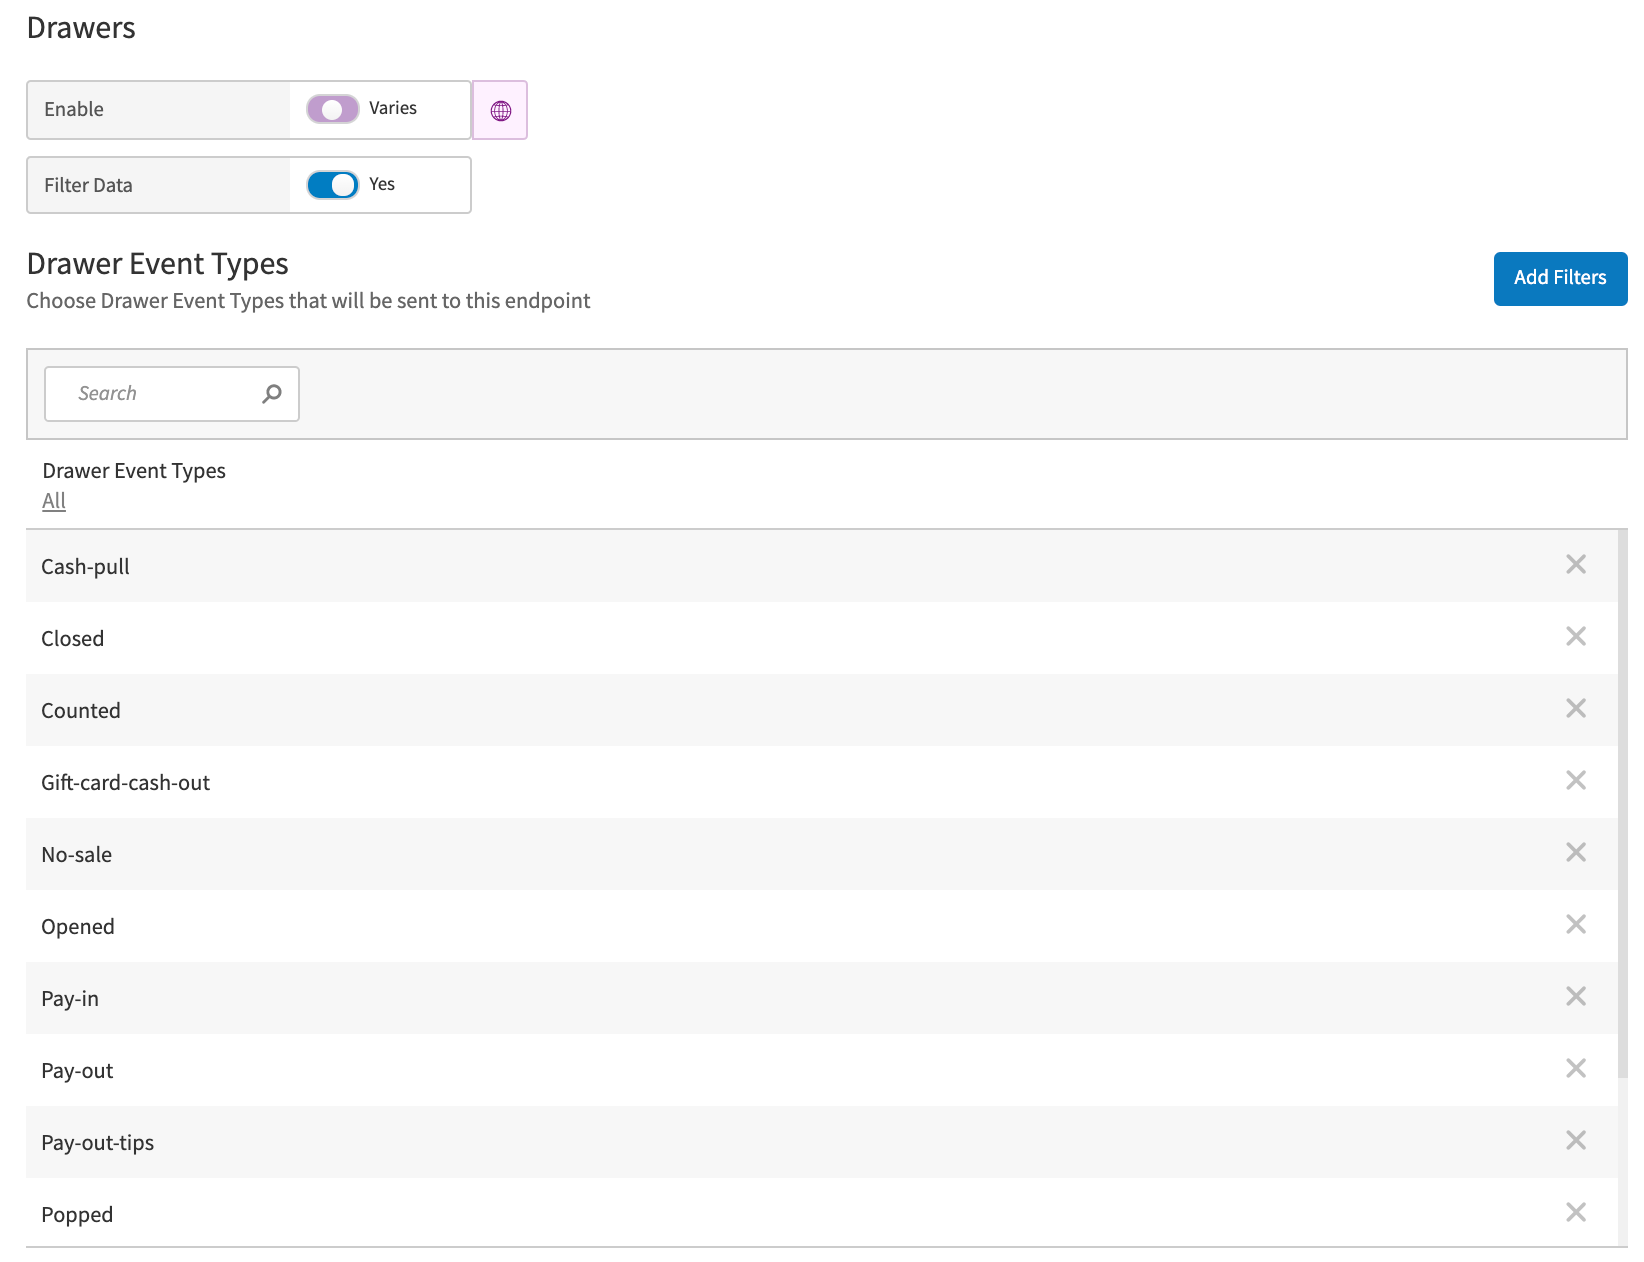
Filter Data - Enable this toggle if you want to configure a list a drawer event types which should be sent to this target address.
Note
When this toggle is disabled, drawer events in all types are sent to the target address.
Drawer Event Types - The field is displayed only when the Filter Data toggle is set to Yes. Click Add Filters to open a modal window to configure a list of drawer event types.
For Deposits, add the following information and settings:
Enable - Move this toggle to Yes to enable the flow of deposits to this target endpoint for a single site. You can also use the globe icon to configure a list of target sites.
Note
Deposit events will be sent only for the sites that are enabled in the Availability tab.

Filter Data - Enable this toggle if you want to configure a list of deposit statuses which should be sent to this target address.
Note
When this toggle is disabled, deposit events in all statuses are sent to the target address.

Deposit Statuses - The field is displayed only when the Filter Data toggle is set to Yes. Click Add Filters to open a modal window to configure a list of deposit statuses.
Note
When configured, only deposit events with these statuses are sent to the target address.
For Punches, add the following setting:
Enable - Move this toggle to Yes to enable the flow of time punches to this target endpoint for a single site. You can also use the globe icon to configure a list of target sites.
Note
Time punches will be sent only for the sites that are enabled in the Availability tab.

For End of Day Notifications, add the following settings:
Send Site EOD - Move this toggle to Yes to enable the flow of End Of Day (EOD) notifications for the whole site to this target endpoint. When at least one terminal switches its business date to the next one (greater than a previous one), an EOD notification with a new business day for the site is sent.
Note
EOD notifications will be sent only for the sites that are enabled in the Availability tab.
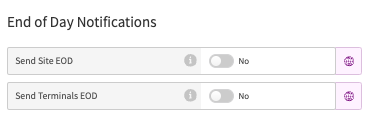
Send Terminals EOD - Move this toggle to Yes to enable EOD notifications for the each terminal within the chosen sites to this target endpoint. When the terminal switches its business date to the next one (greater than a previous one), an EOD notification with a new business day for this terminal is sent. One notification contains information about one terminal at a time. You can also use the globe icon to configure a list of target sites.
Note
EOD notifications will be sent only for the sites that are enabled in the Availability tab.
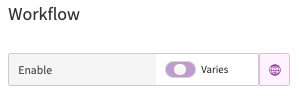
For Workflow, add the following setting:
Enable - Move this toggle to Yes to enable the flow of workflows to this target endpoint for a single. You can also use the globe icon to configure a list of target sites.
Note
Workflows will be sent only for the sites that are enabled in the Availability tab.