Company Preferences and Site Setup
These topics describe how to set preferences at a company level that impact order entry and how to add a new site to a company using Portal API. Company preferences and sites may be modified by admin users at the company.
Company Preferences
Company preferences define default information about a company that our platform uses to process orders. This topic describes how to set values for each of the required preferences.
Follow the steps below to set the default preferences for a company:
Log in to the Portal.
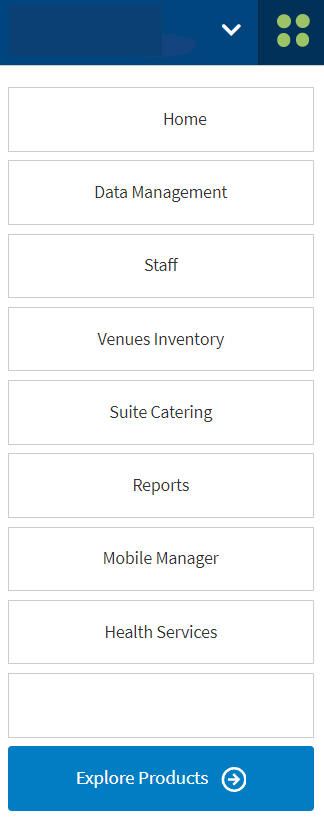
From the Portal, select the 4-dot menu in the upper right of the screen and select Data Management:
The Data Management window opens as shown below:
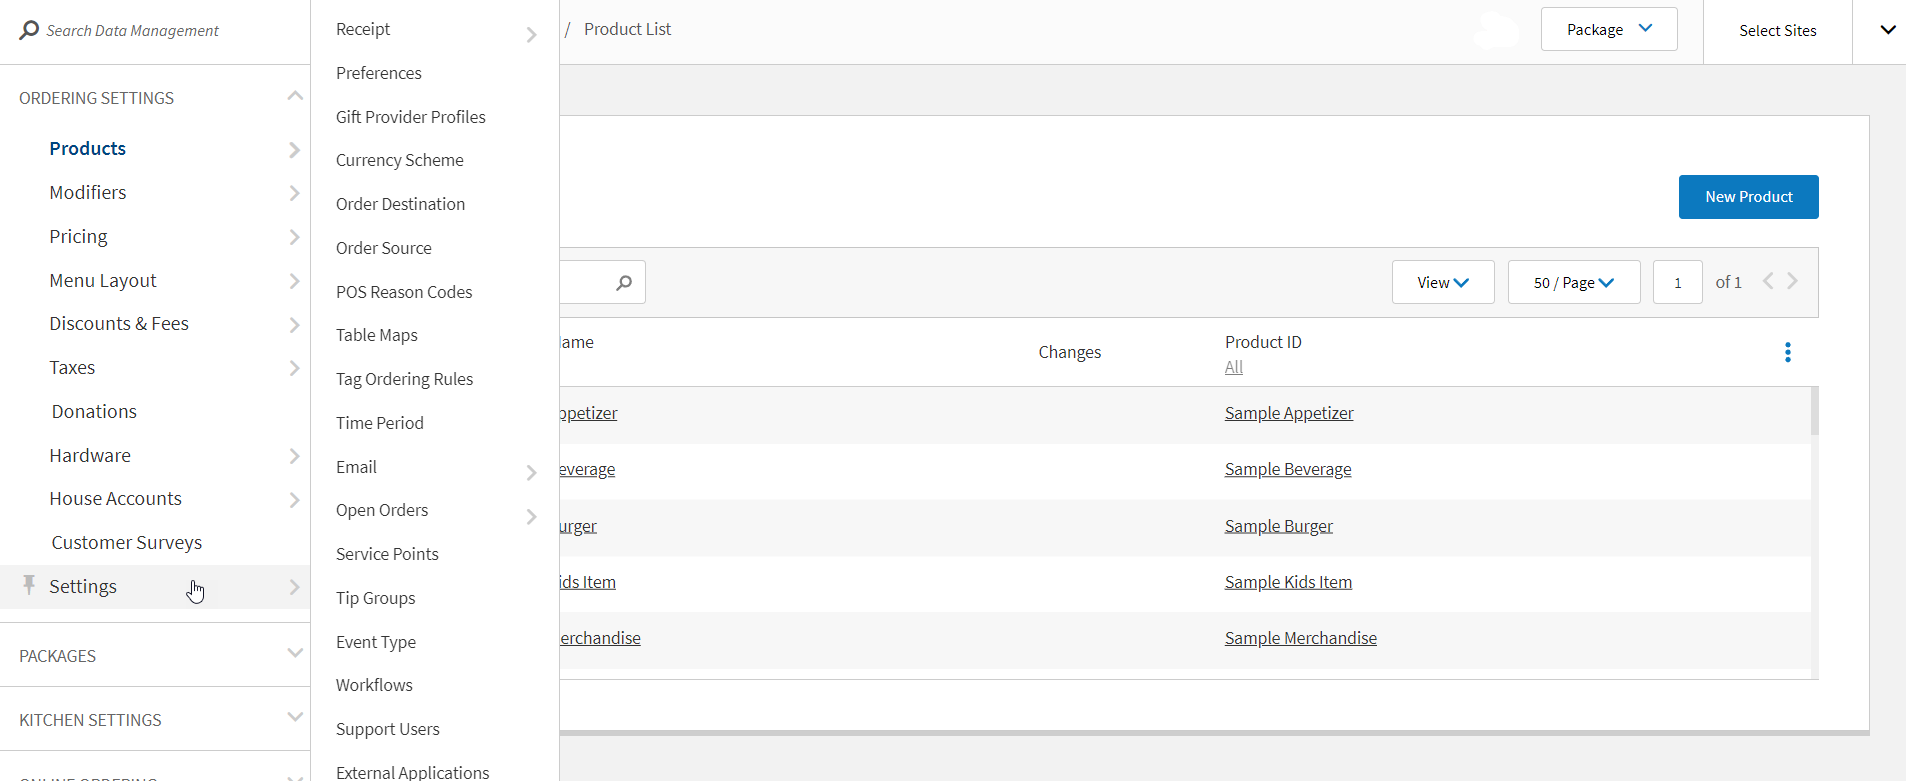
Select Settings > Preferences from the menu on the left of the screen as shown above. The Preferences screen opens.
Select the Set company defaults option.
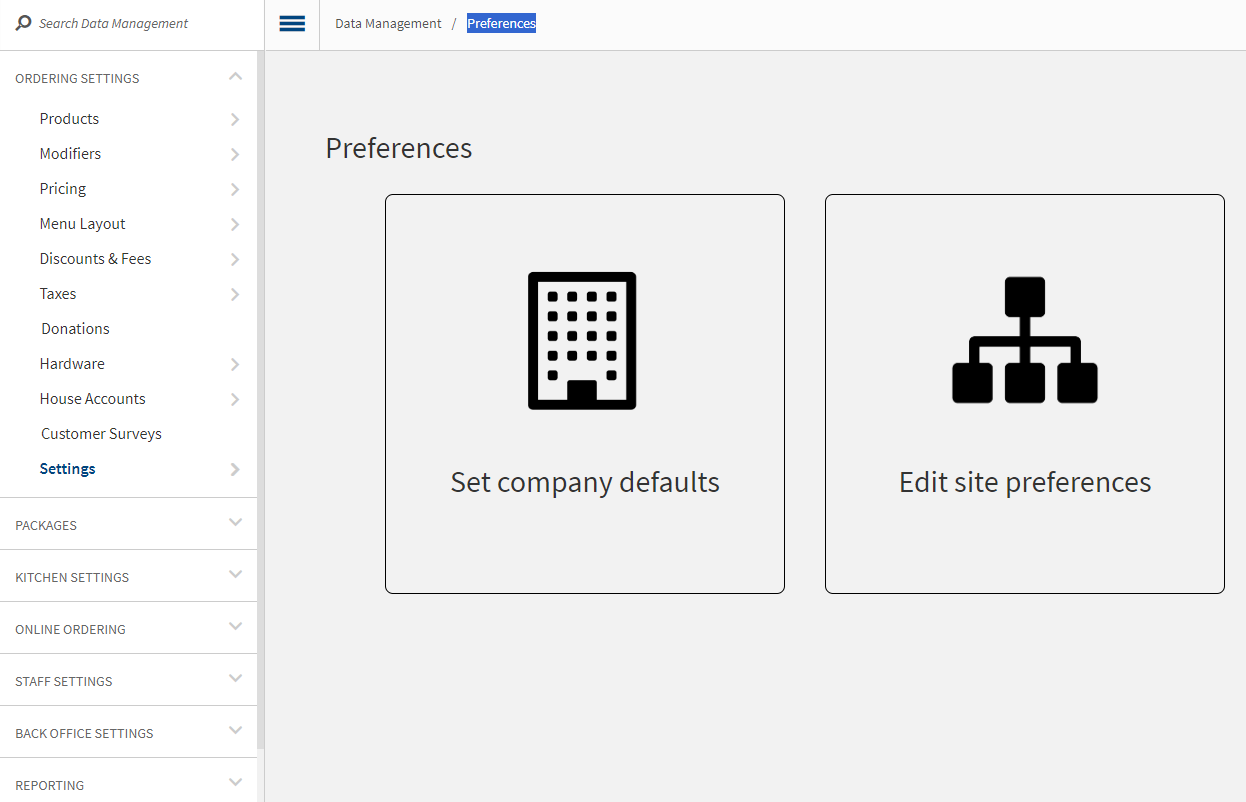
The Default Company Preferences screen opens.
Enter the following required data in the General preference pane:
Money Precision - Our system currently supports precision to two decimal places only.
Rounding Method - The rounding method defines how prices and totals will be calculated if the value falls outside of the money precision range.
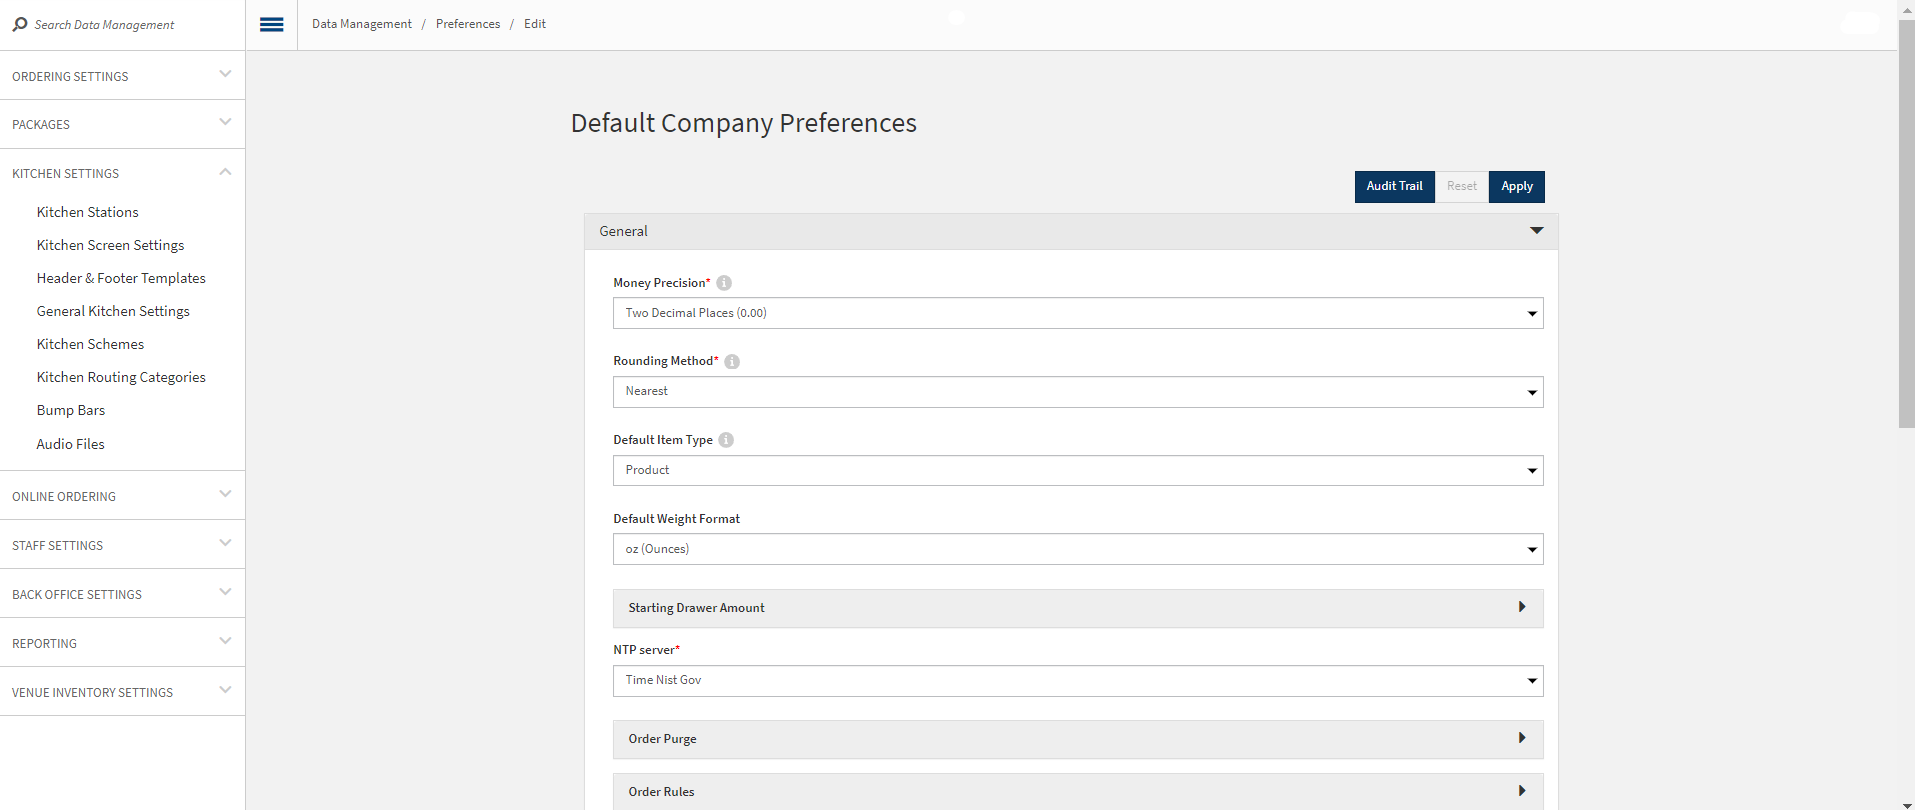
Enter the number of hours abandoned orders persist before being purged in the Order Purge pane:

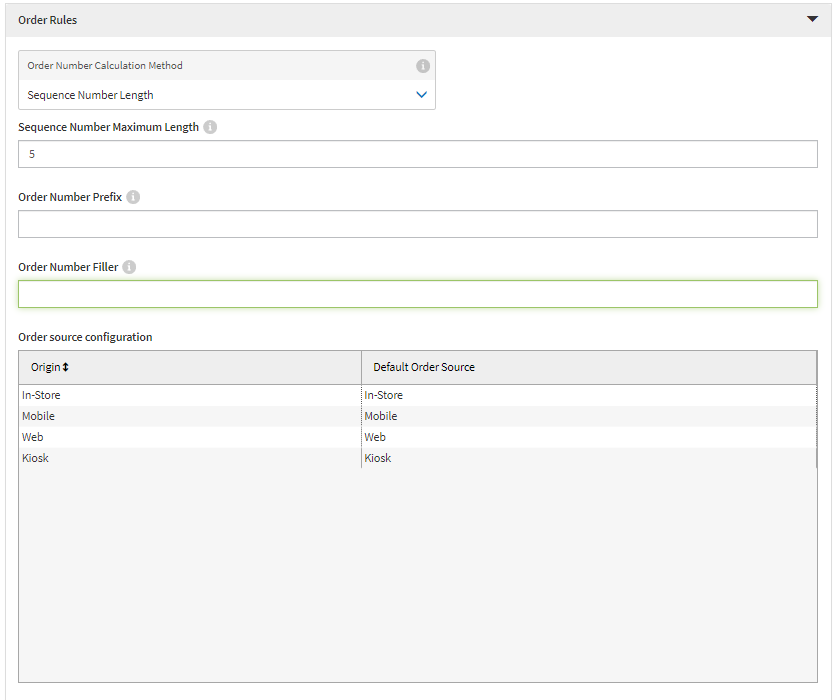
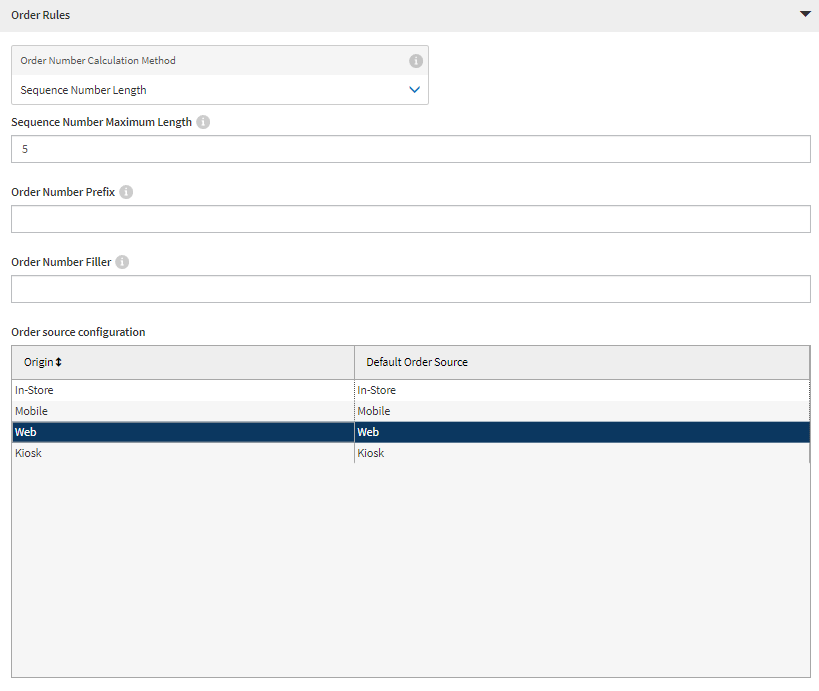
Set the format for order numbers under Order Rules in the Order Number Calculation Method pane. The Sequence Number Maximum Length field sets the maximum number of characters that the company's order numbers support. The Prefix field sets a value that will be used for the first several characters of these order numbers. The Filler field defines a character that will be used as a default value if the order number that our system generates does not require the entire length of the order numbers:
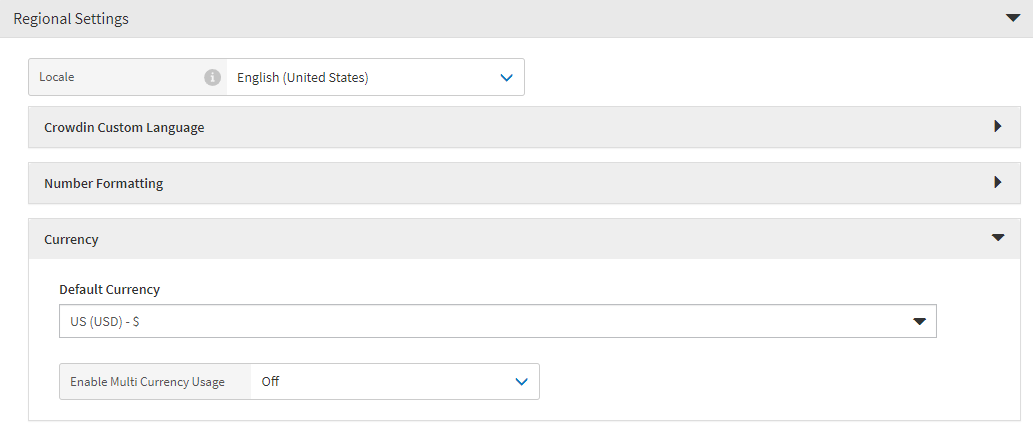
Set the Currency that the business accepts in the Regional Settings > Currency pane shown below. Enter USD in the text field. Online Ordering currently only supports US dollars:
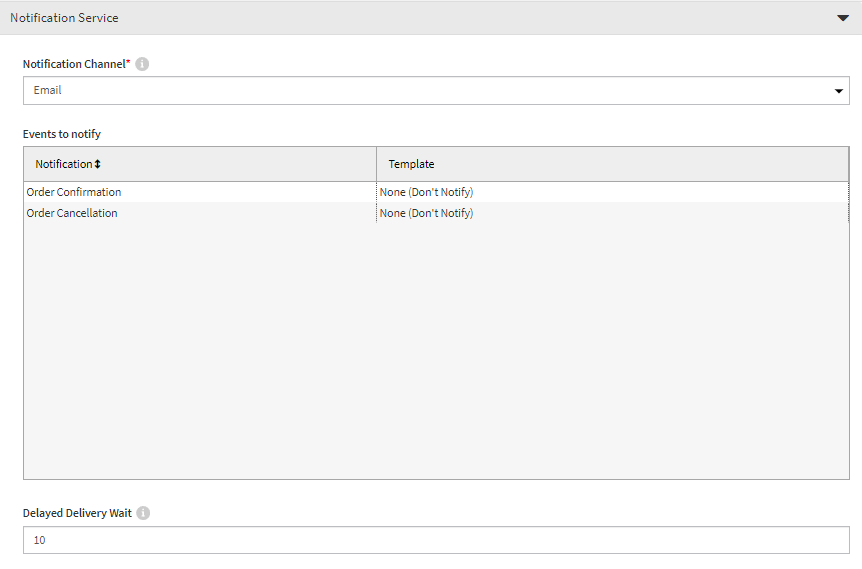
Enter the following required data in the Notification Service preferences pane:
Notification Channel - Select Email from the Notification Channel drop-down menu. Online Ordering supports Email notifications currently. This setting defines how our system communicates with customers about the order status.
Provide an image file for the Company Logo in the Ordering Application > Company Logo pane shown below. Select Specified Logo from the dropdown menu, then select Change to choose an image file saved on an available hard drive.
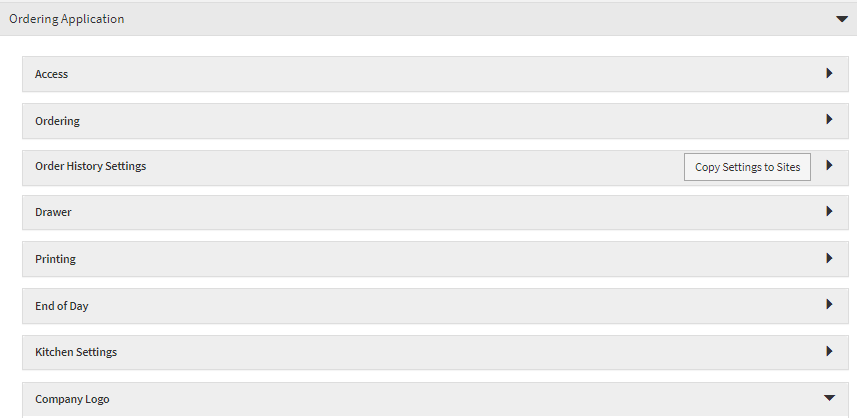
Select a Default Order Source in the Ordering Application > Order Source Configuration pane. The most appropriate option is typically 'Web'.
Site Setup
Sites are the physical locations that receive and fill orders. Accepting an online order sends it to a specific site to be prepared. An integrator must have at least one site set up in Portal API before they can accept online orders.
Setting up a site requires the following information:
Company Name - The name of the company.
Site Name - The name of the specific site being set up.
Store Number - A unique identifier for the site.
Preferred Language - The default language that will be used on receipts and menus.
Address 1 - The street address of the site.
City - The city portion of the site's address.
State - The state portion of the site's address.
Zip - The site's zip code.
Country - The site's country.
Phone Number - The site's phone number.
Time Zone - The site's time zone.
After collecting these required details, follow the steps below to create and set up a new site:
Log in to thePortal.
From the Portal, select Sites from the menu on the left.
The Company Sites list opens:

From Company Sites, select Create Site in the upper right of the screen. The Create Site screen displays:
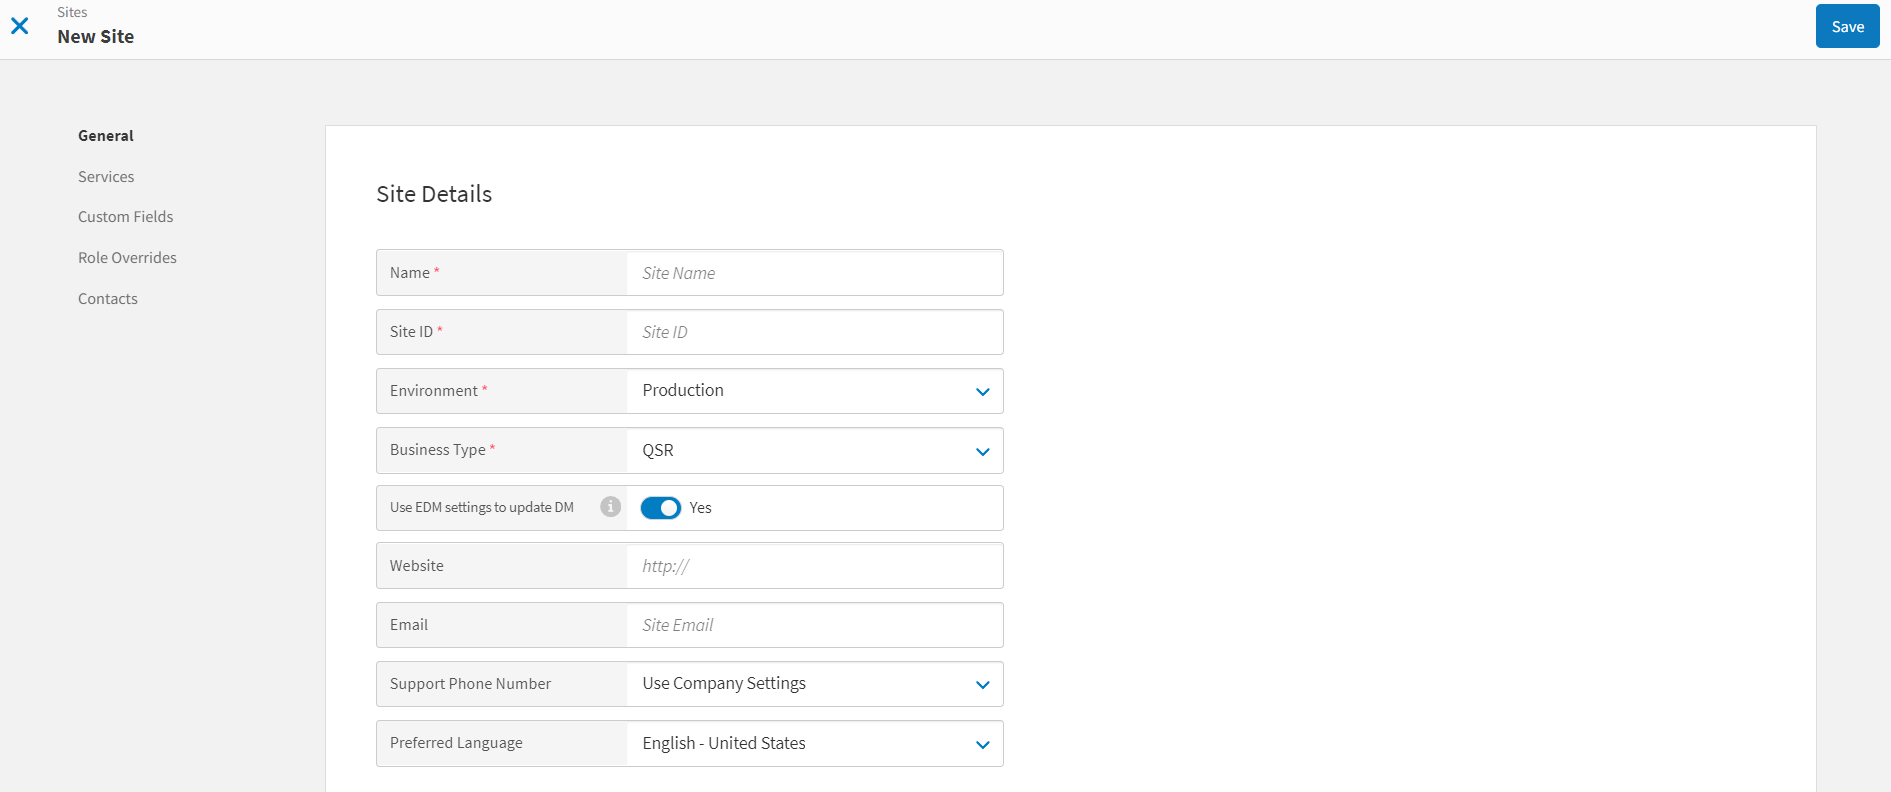
Enter the following required information in the General section of the screen:
Site Name
Site ID
Site Environment
Site Business Type
Site Email Address
Preferred Language
Add the following required details about the site in the Location section of the screen:
Address 1
City
State
Zip
Country
Phone Number
Time Zone
Longitude and Latitude - These values are generated automatically based on the address information.
Enter any optional information.
Select the services link on the left side of the screen. Select Add Service. The Add Service window displays:
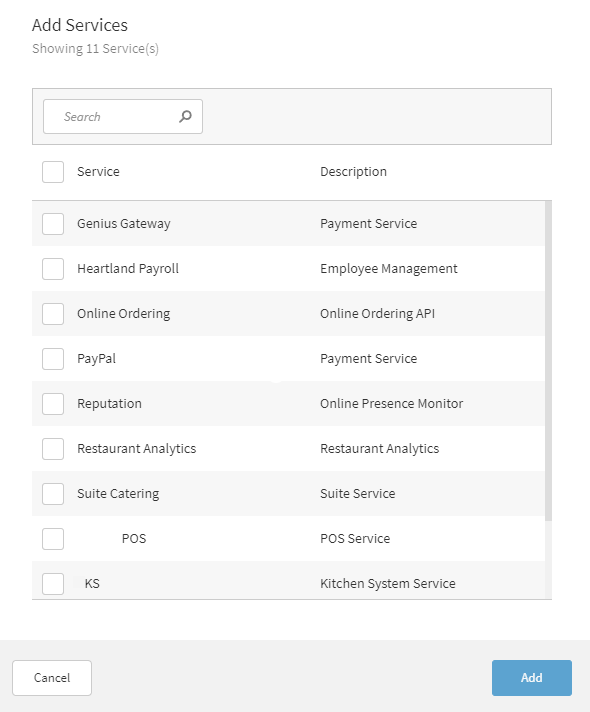
Select any applicable services to which the company subscribes.
Select Add to add the service(s) and close the window.
Select Save in the upper right of the screen.