Getting Started
The following identifies the recommended steps to create and configure content for Digital Menu Board (DMB).
To access the DMB utilities:
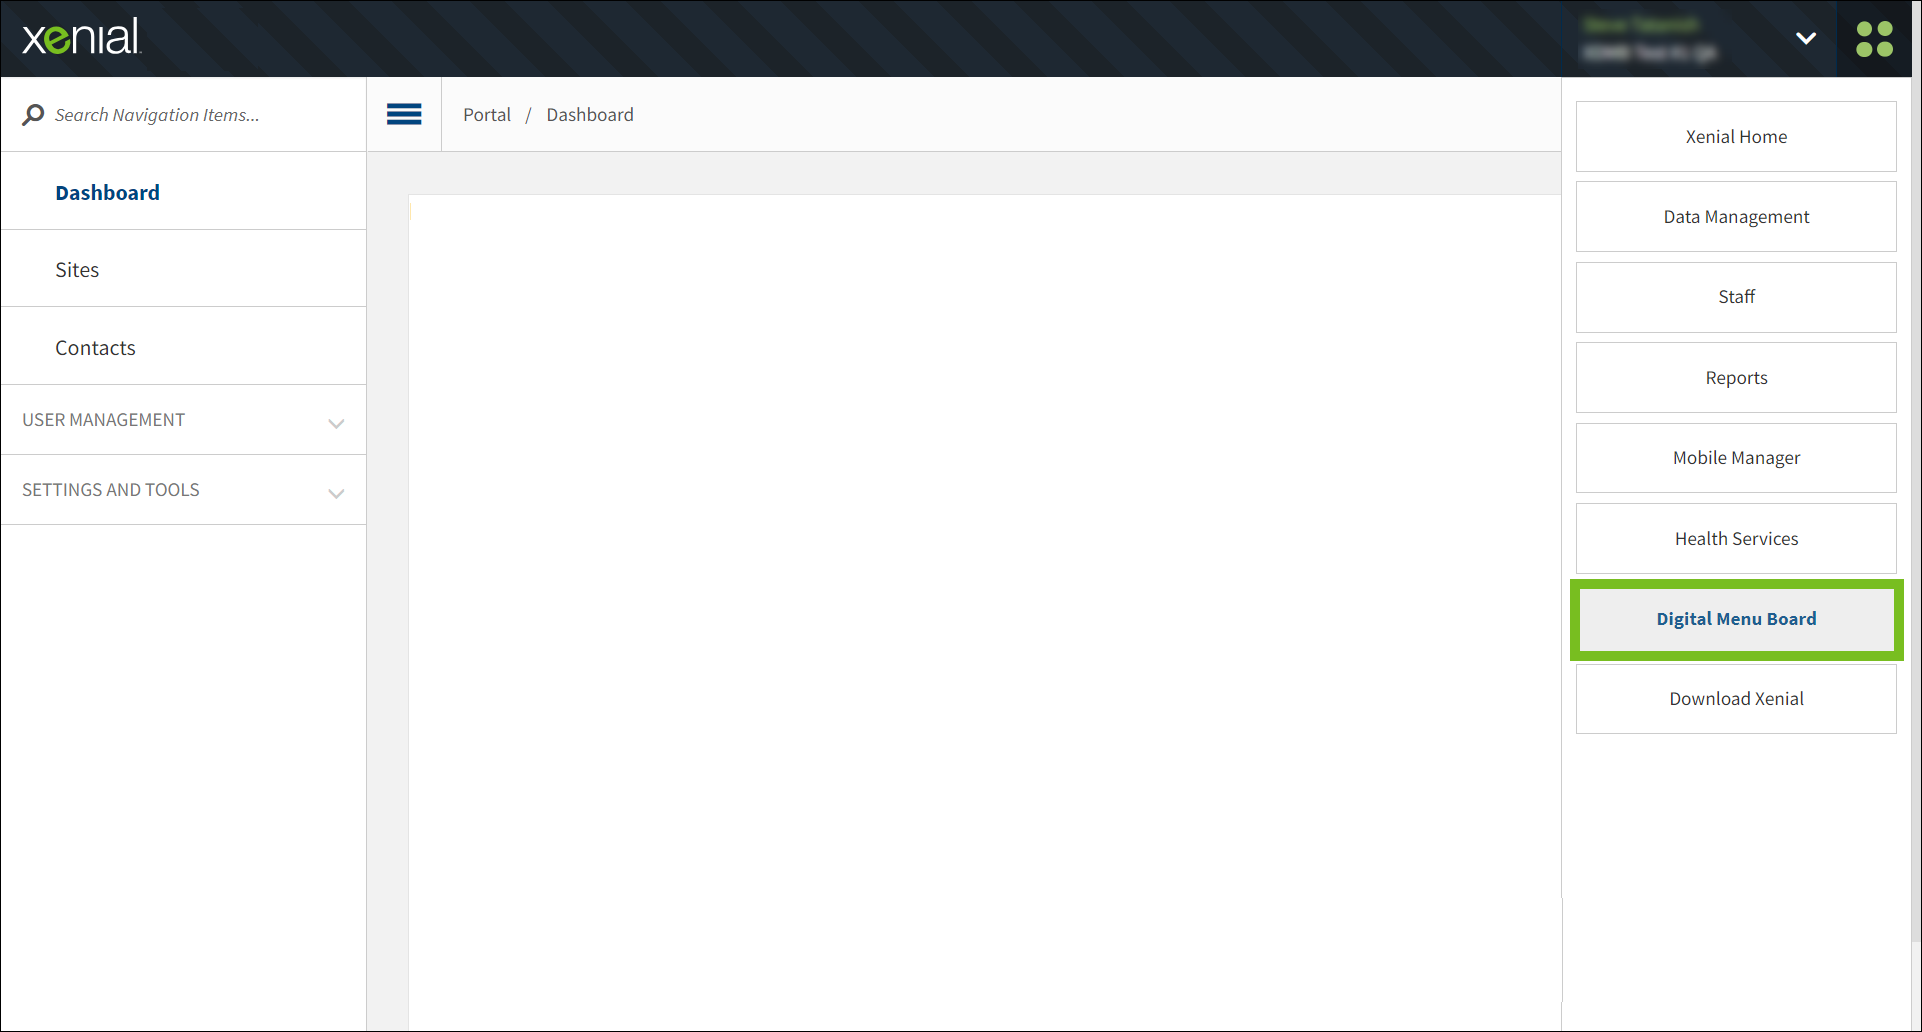
From the upper-right of the Genius Portal, open the 4-dot menu.
From the 4-dot menu, select Digital Menu Board.
Step 1: Add Dayparts
→ → → →
A "Daypart" identifies a segment of the business day, for example, Breakfast, Lunch, and Dinner. Dayparts are used on Schedules to control the DMB content that is displayed during specific times of the day.
Use the Dayparts utility to add and manage the Dayparts that are available for selection when creating a Schedule. The following provides an overview of the Dayparts homepage:
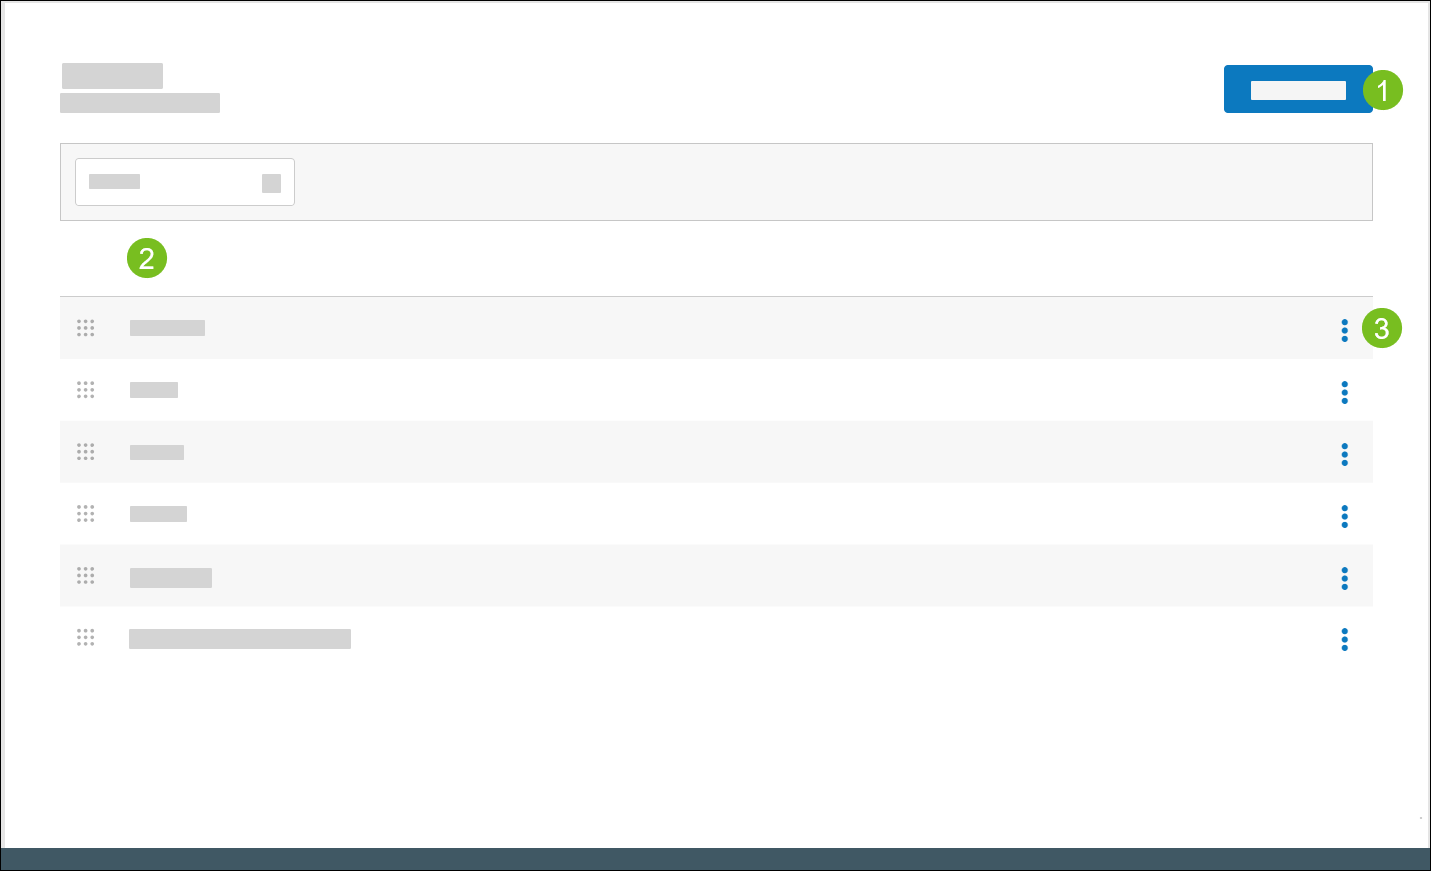 |
1 | Create a new Daypart | |
2 | Dayparts | Specifies the name of the Daypart. Use the control to the left of the listed Dayparts to sort them in the desired sequence. |
3 | 3-Dot Menu | From the dropdown, select an action to perform on the Daypart:
|
Add Daypart
→ → → →
To add a Daypart:
From the upper-right of the Dayparts homepage, select Add Daypart.
In the Daypart Name field, type the name of the Daypart.
From the upper-right, select Save.
Step 2: Create Content Designs
→ → → →
Access Content Designs to create and design DMB content. The following is an overview of the Content Designs homepage:
 |
1 | Use Content Designer to configure display components, including images and videos. | |
2 | Content Design Name | Name of Content Design |
3 | Description | Description of Content Design |
4 | Resolution | Screen resolution Select All from the column header to filter the list by resolution. |
5 | Content Layouts | Number of Content Layouts mapped to the Content Design Select the number to view the mapped layout names. |
6 | Last Update | Date/time the Content Design was last updated |
7 | 3-Dot Menu | From the dropdown, select an action to perform on the Content Design:
|
Step 3: Create Display Schemas
→ → → →
A Display Schema is a collection of displays. Define the orientation and resolution for each display in the schema.
When you create Content Layouts you assign the preferred Display Schema to each layout.
Use Display Schemas to create and manage Display Schemas. The following is an overview of the Display Schemas homepage.
Note
If no Display Schemas are defined, the homepage displays the message: "You haven't created any Display Schemas yet."
 |
1 | Create a Display Schema. | |
2 | Display Schemas | Identifies the Display Schema and its maximum number of displays (horizontal and vertical) Select a Display Schema to view the schema. |
3 | Last Update | Date/time of last update |
4 | 3-Dot Menu | From the dropdown, select an action to perform on the Display Schema:
|
Create Display Schema
→ → → →
To create a Display Schema:
From the Display Schemas homepage, select Create Display Schema.
From the General page, define the following:
Setting
Description
Display Schema Name
Name of Display Schema
Description
Description of Display Schema
From the left menu pane, select Displays.
From an undefined display, select Add Display.
From the Add Display window, define the following:
Setting
Description
Display Name
Name of Display
Choose orientation and resolution
Select the preferred orientation and resolution
From the lower-right of the Add Display window, select Done.
Repeat steps 4-6 to add additional displays to the schema.
From the upper-right, select Save.
Step 4: Create Content Layouts
→ → → →
A Content Layout consists of a Display Schema with specific Content Design assignments for each Daypart.
Use Content Layouts to add and manage the Content Layouts that are deployed to company sites. The following is an overview of the Content Layouts homepage:
Note
If no Content Layouts are defined, the homepage displays the message: "You haven't created any Content Layouts yet."
 |
1 | Create a new Content Layout. | |
2 | Name | Name of the Content Layout. |
3 | Content Thumbnails | Content thumbnails of the displays in the Display Schema. To view all the thumbnails, select the right-arrow next to the Content Layout name. |
4 | Display Schema | Name of the Display Schema assigned to the Content Layout. |
5 | Last Update | Date/time when the Content Layout was last updated. |
6 | 3-Dot Menu | From the dropdown, select an action to perform on the Content Layout:
|
Create Content Layout
→ → → →
To create a Content Layout:
From the Content Layouts homepage, select Create Content Layout.
From the Create Content Layout window, define the following settings:
Setting
Description
Content Layout Name
Name of Content Layout
Description
Description of Content Layout
From the Create Content Layout window, select the Display Schema to assign to the layout.
From the lower-right of the window, select Next to view a visual representation of the Content Layout.

The Display Schema is displayed for each Daypart.
From the upper-right of the Content Layout, select the 3-dot menu to edit or delete the Content Layout.
From the bottom of the Content Layouts screen, select Add Content Layout to add additional layouts.
From the upper-right of Content Layouts, select Assign Content Designs to assign specific Content Designs to each display in the Display Schema for each Daypart.
From the upper-left of Assign Content Designs, select a Daypart.
From an unassigned display, select +Add Content Design.
From the Content Design Catalog tab of the Select Content Design window, select the Content Design to assign to the display.
The Content Design Catalog tab only lists Content Designs with a resolution that matches the selected display.
The Added Content Designs tab lists Content Designs that are assigned to a display.
From the lower-right of the Select Content Design window, select Add Content Design.
In the following example, Content Design 1748_1 is assigned to the first display in the Display Schema for the Breakfast Daypart.
To edit a Content Design assignment, select the pencil located below the display icon.
 |
Review Content Layout
Once a Content Design is assigned to each display in the Display Schema for each Daypart, review the Content Layout:
From the upper-right of the Assign Content Designs screen, select Review.
From the upper-right, select Save.
Step 5: Deploy Content Layout
→ → → →
Important
A Content Design must be assigned to each display in the Display Schema before a Content Layout is eligible for deployment to company sites.
To deploy Content Layout:
From the Content Layouts homepage, select the Content Layout to deploy.
From the upper-right of the Content Layouts screen, select Ready to Deploy.
The Content Layout is added to the Ready to Deploy tab of Content Deployment.
Alternate method:
From the Content Layouts homepage, locate the Content Layout to deploy.
From the 3-dot-menu on the row of the Content Layout, select Edit.
From the Save dropdown in the upper-right of the Content Layout screen, select Ready to Deploy.
The Content Layout is added to the Ready to Deploy tab of Content Deployment.